This will take you through step by step with photos (more than in your journal book) the method I used for the circular appliqué and piecing in the quilt.
stitched circles –
If you used the iron on transfers once all stitching and appliqué is finished trim off the excess on the outside transfer line. If you traced then cut 1/4” from the outside circle line or wait until you have fused your backing on (below, then trim 1/4” from its edge)
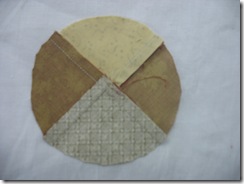
Place a circle Template A Stitch and wash fusible piece and position on the wrong side of a stitched circle. This needs to be accurately in the centre so it may help to use a light box so you can see through to the design on the front to make sure the paper is exactly in the centre of your design – look at the outside edges most – the running stitch line and the writing.
Fuse the stitch and wash onto the fabric with a hot iron. Make sure you fuse it well!
If you used a fusible pellon (lightweight batting) on the back of your stitched circles you may wish to pull it off the fabric and trim off up to where the stitch and wash paper is. (that is the excess pellon in the seam allowance) Use a fine pair of pointed embroidery scissors – this just reduces the bulk to turn over and glue.
Run a line of glue around the outside edge of the Template A stitch and wash piece. With your thumb and forefinger work your way around the edge folding the seam allowance over onto the glue. You don’t want points around the edge so roll over small amounts at a time – if you are still getting points try trimming the seam allowance back even more. You may need to glue just small bits at a time so it holds. Once glued, press well.
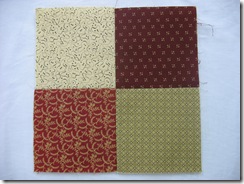
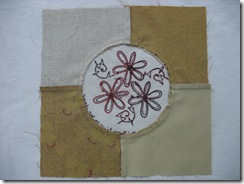
First make your four patch blocks as per the instructions in the pattern.
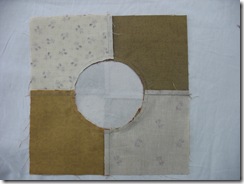
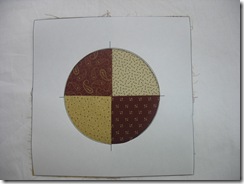
Next you need to make a paper template. Cut a square of paper 8 1/2” square. fold it in half both directions and crease the fold lines. Place the template onto a light box with your circle templates from your pattern pack underneath. mark the large circle template and cut out of the paper.
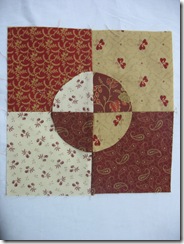
Position the template onto a four patch unit – this is the guide for your stitched circle.
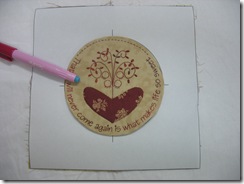
Place a small amount of glue around the outside edge of the circle close to the edge only on the four patch. Place your finished stitched and glued circles into the centre of the template hole. Ensure it is straight and even.
Remove template.
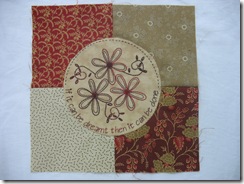
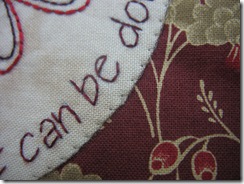
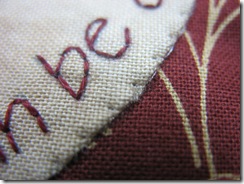
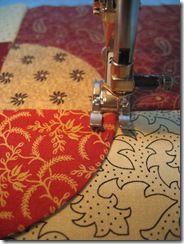
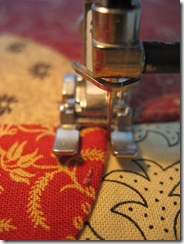
With an invisible monopoly thread and a zig zag foot on your sewing machine we are now going to edgestitch the circles to the four patch. I used a blind hem stitch – that stitches about three stitches in the ditch and then swings one stitch into the fabric. Experiment with your machine first to get the correct stitch length and width to suit. It should swing a small (1-2mm) stitch into the edge of the circle about every 1/8” (3mm).
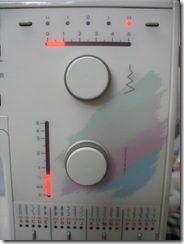
These are the settings I used on my Bernina.
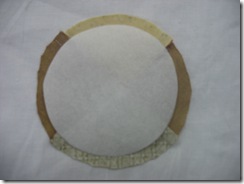
Once all stitching is complete turn the block over and carefully trim away 1/4” inside the stitching line with sharp fine scissors. You must only cut away the back (four patch) layer and not cut your stitchery panel.
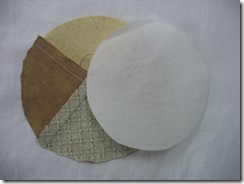
Position a Template B stitch and wash circle on the back of your cutout circle matching the 1/4 points. (this will ensure its in the centre)
Fuse and glue over the edges as before.
Position this four patch circle onto a remaining four patch block having colour one sitting on colour two. Glue around the outside edges only to hold.
Blind hem stitch as before.
notice I am using an open toed embroidery foot so I can see where my ditch is and where my stitches are falling.
Turn over and carefully cut out 1/4” inside the stitching line once again, taking care not to cut the appliquéd circle, just the back layer.
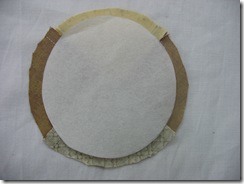 Again fuse your Template C stitch n wash circles and glue over the edges. Put these aside until your top is almost finished.
Once you have the top all put together (either quilt as you go or just sashed and pieced) these circles are placed on the junction points between each block – again turned so that colour one sits on colour two. I then appliquéd down using the invisible machine technique however I used a small zig zag instead of the blind hem stitch as the circle is much smaller now. Or you may wish to hand appliqué these circles on if you are a perfectionist!
I hope this tutorial makes things very simple for you to complete all of this curved piecing without sewing a single curve!
have fun!
Helen

Hello,
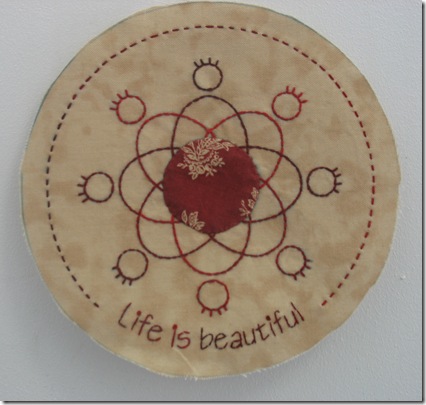
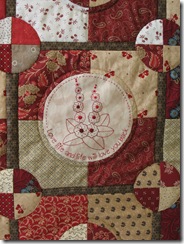
I like the pattern “life is beautifulk” so much., can you tell me, where I can get it in Germany?
Happy easter and best wishes from the northern Black Forest from Birgit
hi Birgit, there are some stores in Europe listed on the bom stores page but not sure that any are in Germany, close to you tho or you can order from here. hugs, Helen
HI Helen,
I am just enquiring where you can access weaveline from direct? Other than quilit stores.
I am not sure sorry Tanath? I havent purchased it wholesale before I shall ask around. Helen
Stitch the words to 6 stitcherys today whilst sitting in the sun. Love checking out the blogs especially
the Netherland girls.
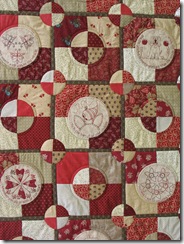
Was wondering if you know how many gals are doing the LIB quilt. Would be very interested.
Annette Schuiling
I just need the patterns please
hi Lin, you can get them at http://hugsnkisses.net/life_is_beautiful.htm or check out the stores pages to find a store near you.
Hi, I am from Australia and have just started the life is beautiful so good to see the tutorial on the quilt cheers Nola
welcome Nola, enjoy your stitching! Helen
Hi, I am from South Australia and have just finished sewing my four block patches. I was just trying to work out when does the quilting get done? and why are the squares cut out at the back? Regards Veda
Veda, if you follow the instructions in your booklet step by step it will all make sense. There is also a photo tutorial on this blog which may assist. it is quilt as you go so if you follow the steps in the instructions as written then the quilting will be done along the way. regards Helen
I just received my first mail out for this quilt from the Stitchers cupboard. Sickness on the weekend has meant lots of hand stitching. Loving it so far.